I have found so many ways to preserve photos, but these face decal balloons might be my favorite and most asked-about DIY yet!
What better way to celebrate a milestone birthday, a graduation party, or a bridal shower than to put your favorite person’s face on their party balloons?
Can you picture an age progression series of photos on the balloons to celebrate? Or a couple-through-the-years balloon bouquet? These fun inflatables look incredible, with very little effort.
As part of our Senior Year Grad planner, I’m even excited to make them for senior sports night this year!
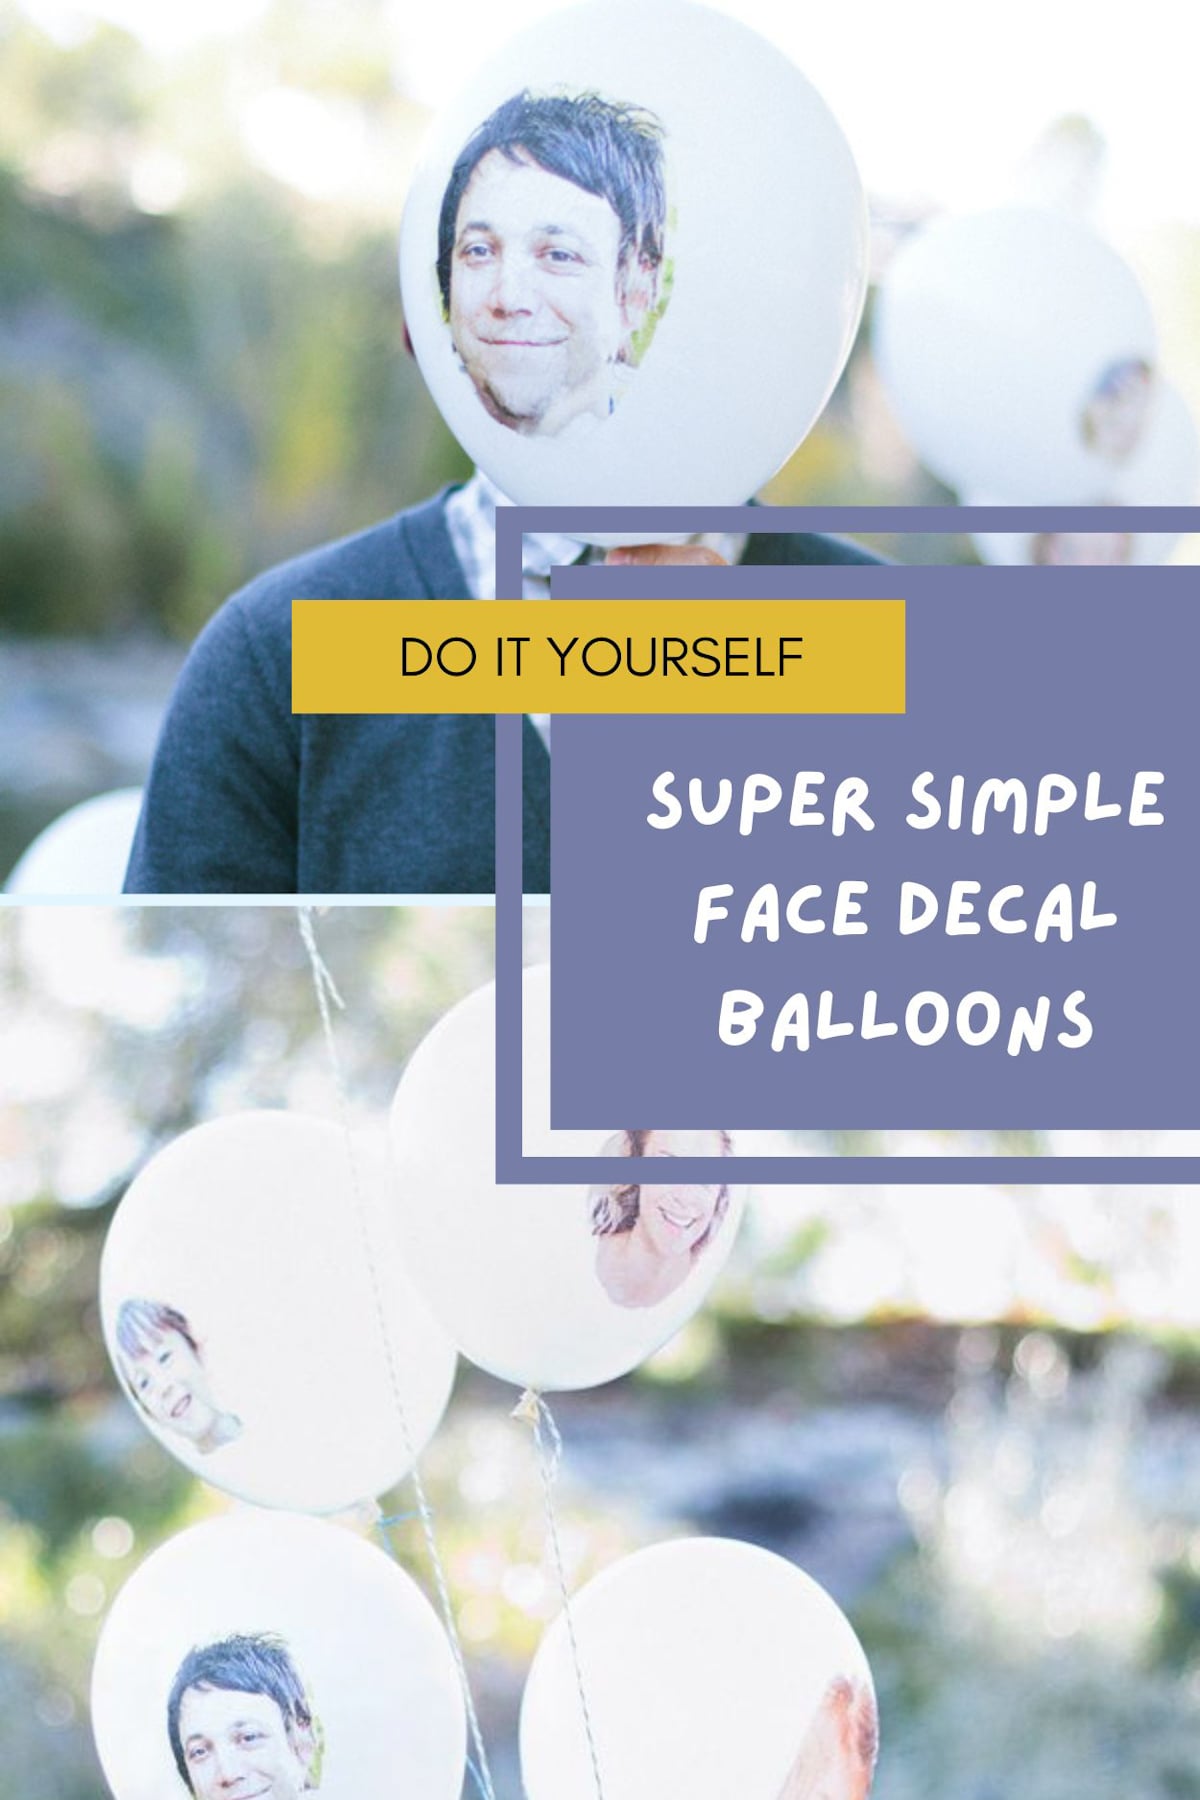
DIY Face Decal Balloons
To create your own personalized photo balloons, you will need:
- Inkjet Printer (This is important! See note below)
- White Tissue
- Tape
- Mod Podge
- White Balloons
Pro tip: White balloons make the best backdrop for photos. The light backdrop ensures your photos POP, no matter the photo, without blending into the balloon.
Creating Your Custom Photo Balloons
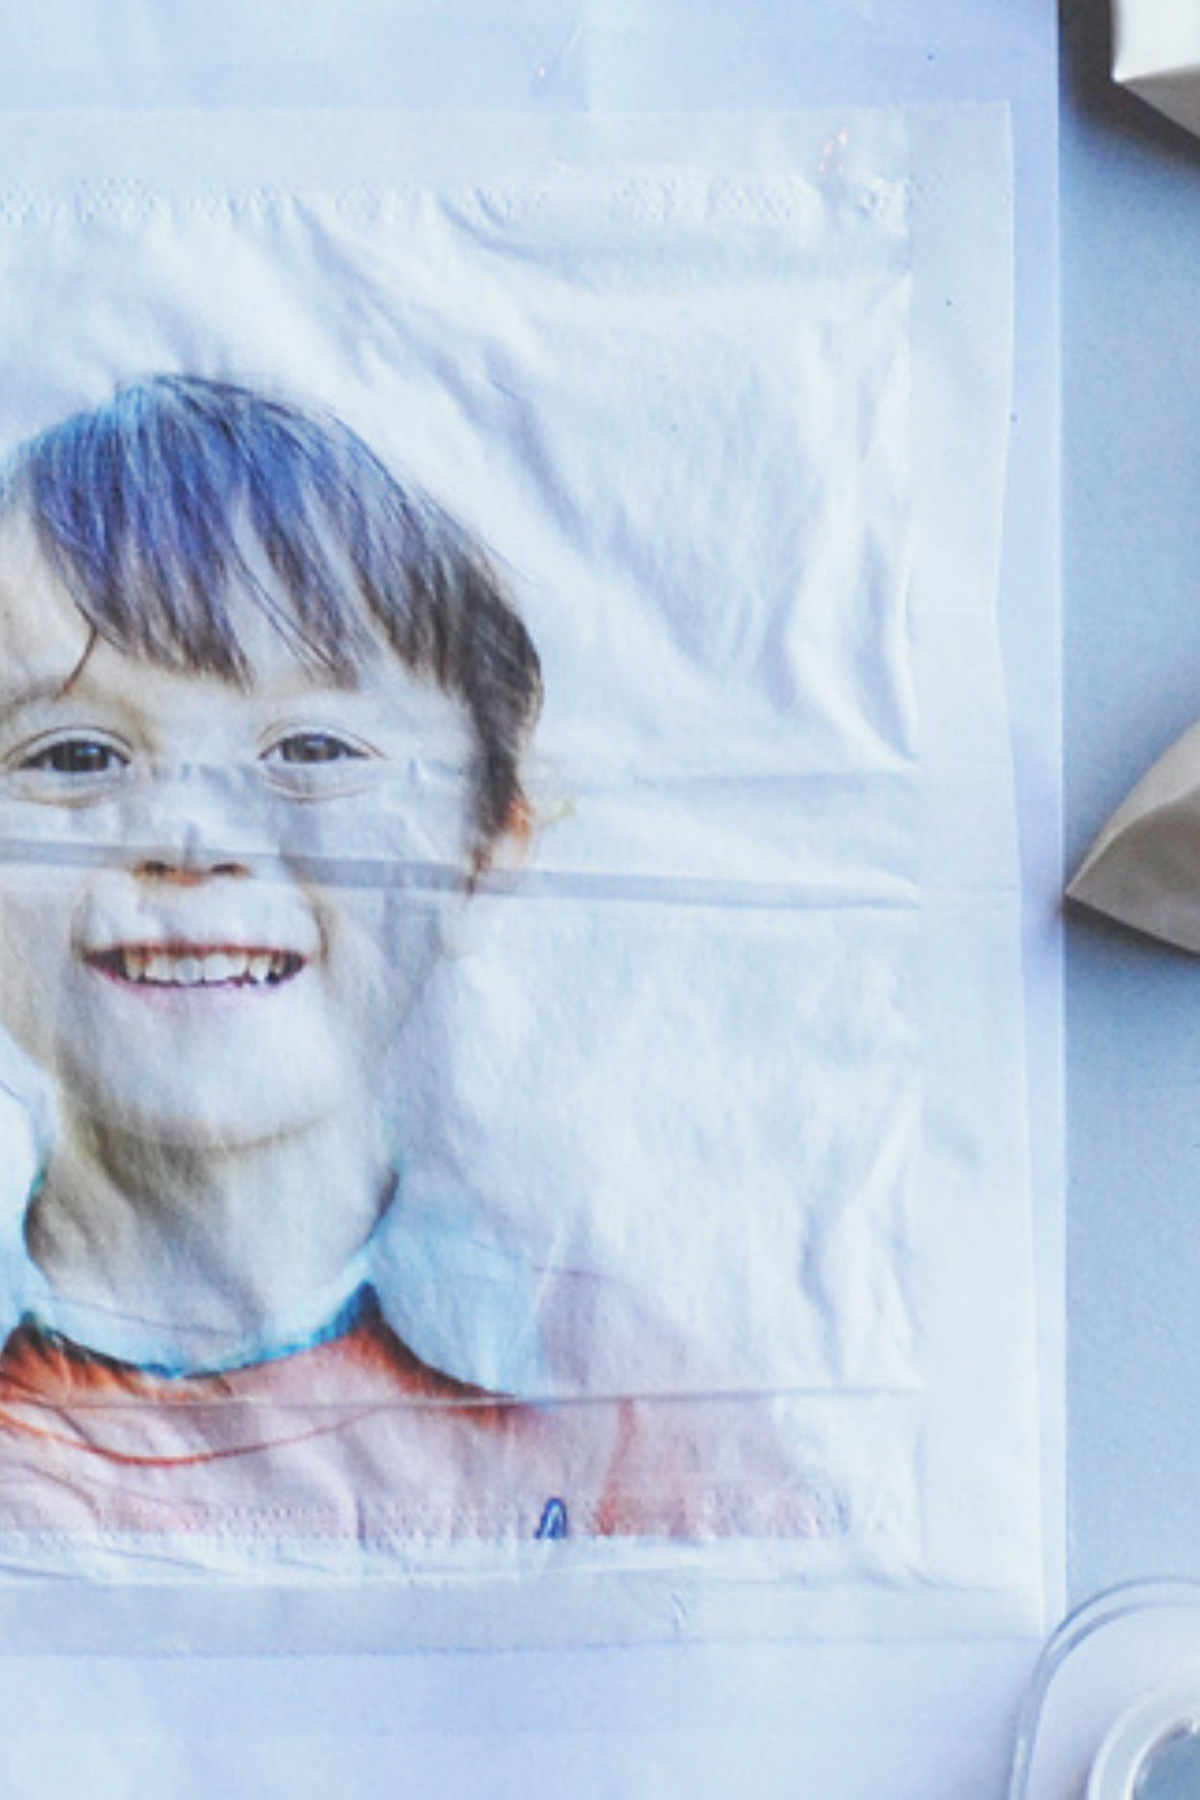
1. Prepare your tissue paper for printing- start by taping the tissue to a piece of white computer paper; tape all the way around the tissue to ensure it doesn’t get caught while printing.
2. Then print out the face you want to decal with your inkjet printer
Important Note: (PLEASE don’t attempt this in your nice laser printer and then send me hate mail!)
It must be an inkjet; this whole printing-on-tissue idea only works with inkjet printers.
*I found this great inkjet printer for under $50. Having a printer just for crafts is my secret weapon!
While making these tissue-decal candles, I mentioned that I actually buy inkjet printers just for crafting. You can find them for about $15 at your local big box store. Projects like this make them so worth it!
3. Cut out your photo-Once the photo is printed, cut around the face, getting as close as you can and removing the bottom tissue layer.
4. Attach the photo to your balloon-Using Mod Podge, attach the photo to the balloon. The tissue blends easily into the white balloons.
5. Let your balloon dry. Let your tissue balloon dry, and you’ll have the best party balloons you’ve ever seen.
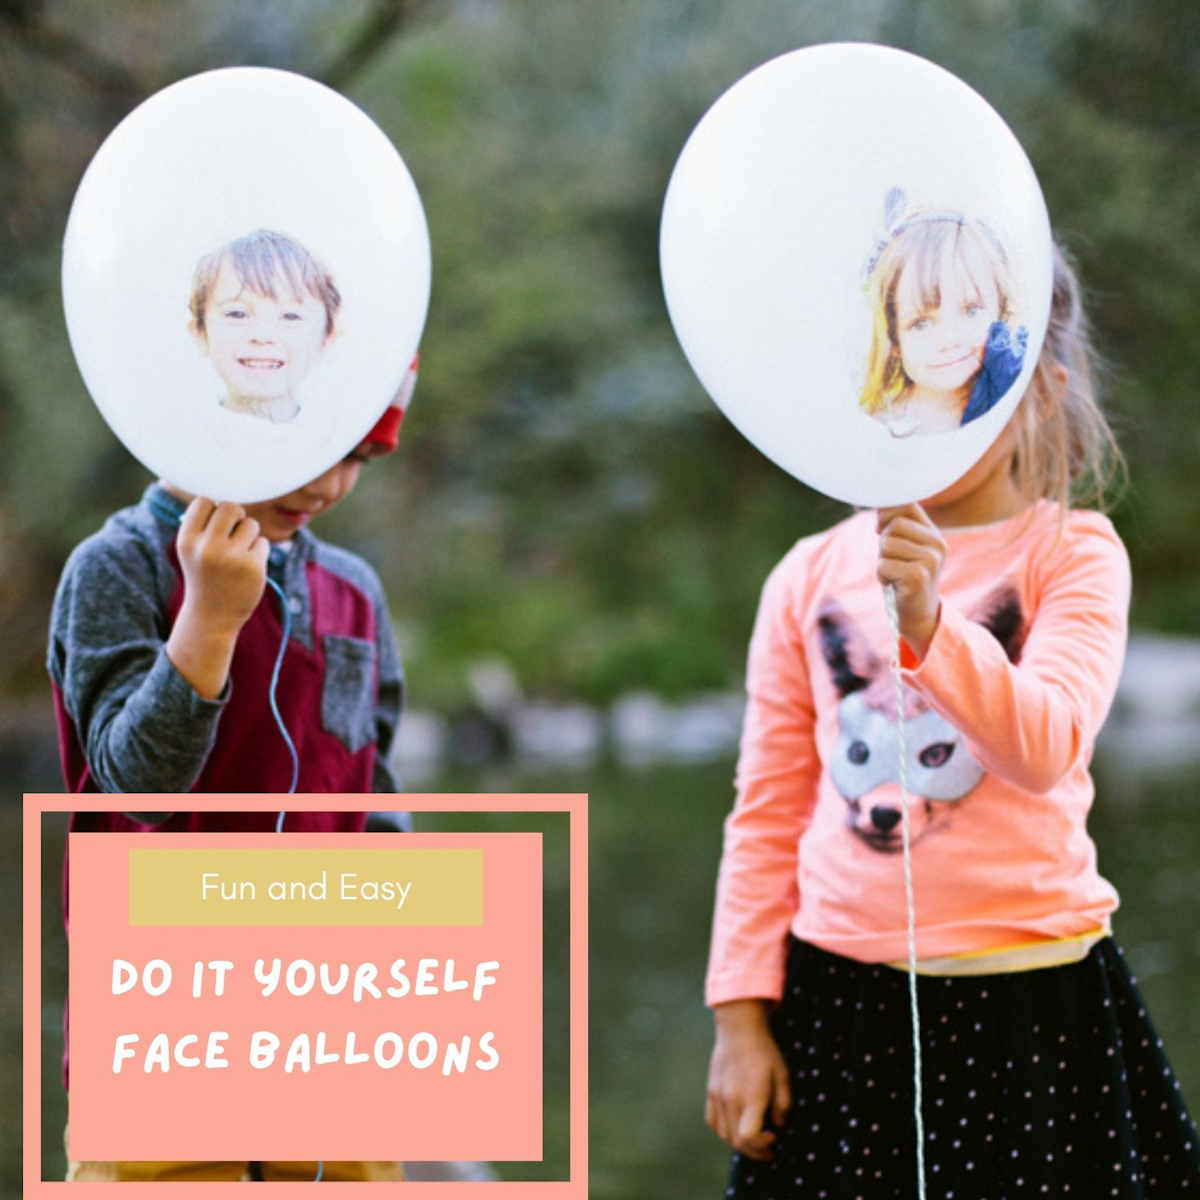
Occasions for your personalized balloons
The concept will also work awesomely for:
- Birthday parties – Create a timeline of photos of the guest of honor through the years.
- Anniversaries- Show the couple through the years.
- Bridal showers- Pick photos of the groom-to-be, or even the bride, through the years.
- Thanksgiving table – Use an individual balloon for each person’s place setting.
- Senior night – I am making these for our twins’ senior night this year!
Use fun ribbons to tie your balloons together and use picture frames or colorful rocks as your balloon weights.
For more fun, creative party ideas, head to the “Parties” section of my website for DIYs just like this one!
- Victoria
Photography by Jocelyn Noel