
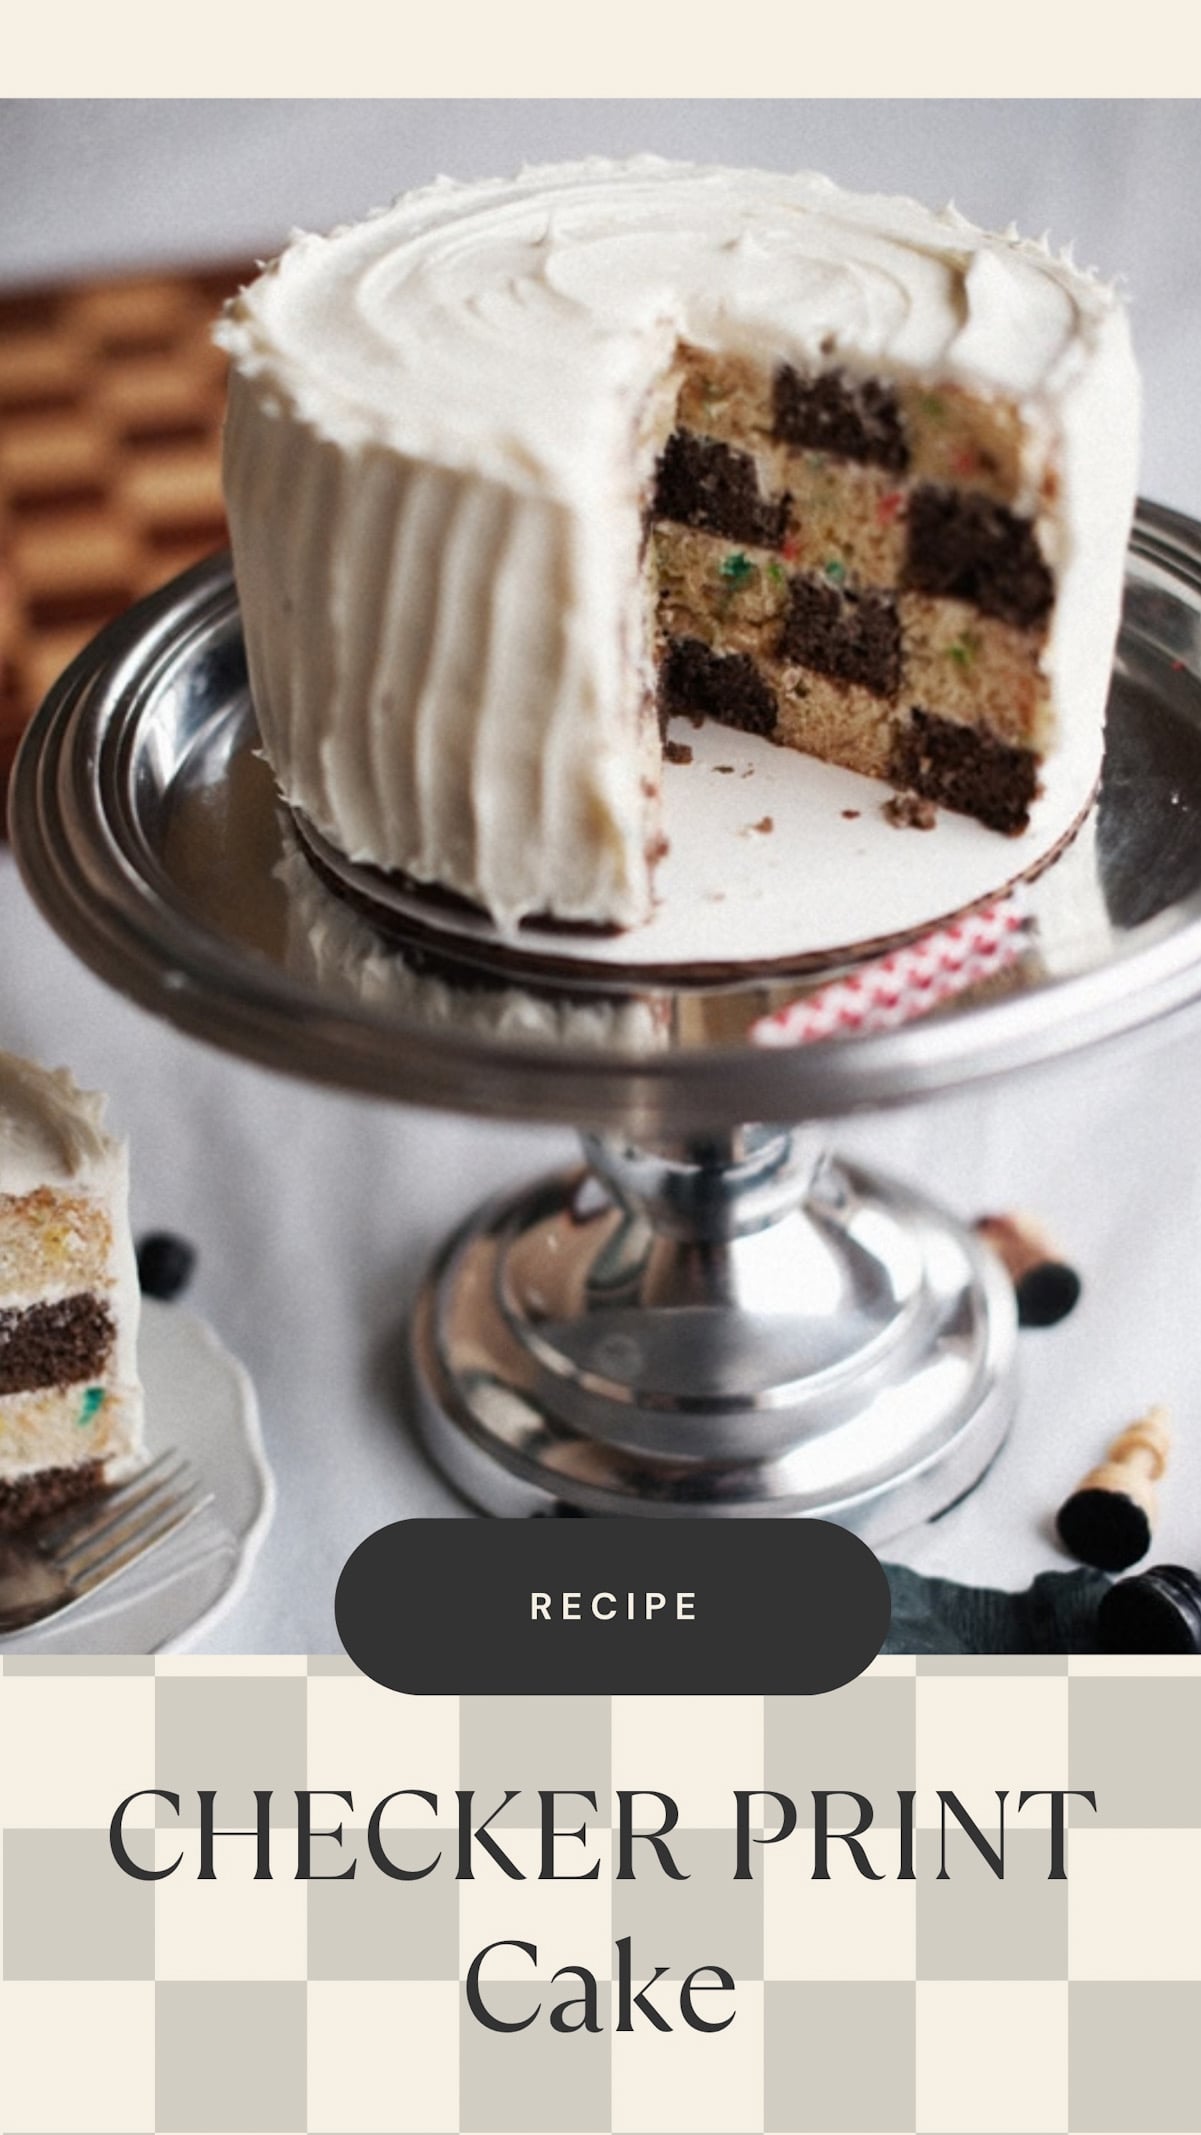
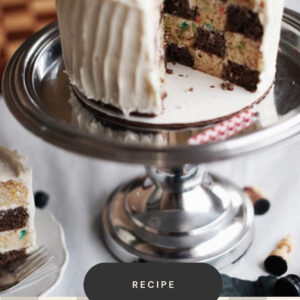
Checkerboard print is all the rage this year, and I can’t say I’m sad about it. This fun checkerboard cake looks extremely complex but is one of the easiest party tricks.
Using cake rounds and various-sized cutouts, you can whip up this fun checkered print cake with minimal effort.
What you need for a Checkerboard Cake
High-contrast colors are the secret to the most vibrant checker print. I used chocolate and funfetti, but there are so many great combinations to try.
Vanilla and strawberry, or strawberry and chocolate would be just as fun (and delicious) for your checkerboard cake.
Checkerboard Cake
Equipment
- 1 4” Circular Cutter
- 1 2” Circular Cutter
- 2-3 6” Round Cake Pan
Ingredients
- 1 White Cake Mix
- 1 Chocolate Cake Mix
- 1 Container of Frosting
- Food Dye or coloring of choice
Instructions
- Make cake mix following directions on box (or, make your own cake recipe). For a two-colored checkerboard effect, separate the batter equally between two medium bowls. For the cake in this tutorial, I left half the batter plain yellow and put a couple of teaspoons of black food coloring and about a tablespoon of cocoa powder in the other half, mixing well.
- Bake the plain and “chocolate” batters in separate 6″ inch cake pans (or take turns, bake the first cake and then the second if you only own one pan), about 35-40 minutes at 350F. Check for doneness. These are “taller” cakes and need to bake a little longer than what is directed on the box.
- Remove from oven and place pans on a wire rack to cool. Flip cakes onto rack after 10 minutes and let cool completely. Then cut the domes off the tops of cakes. Halve each cake into two equal layers using a sharp, serrated knife. You will end up with four cake layers: two plain and two chocolate.
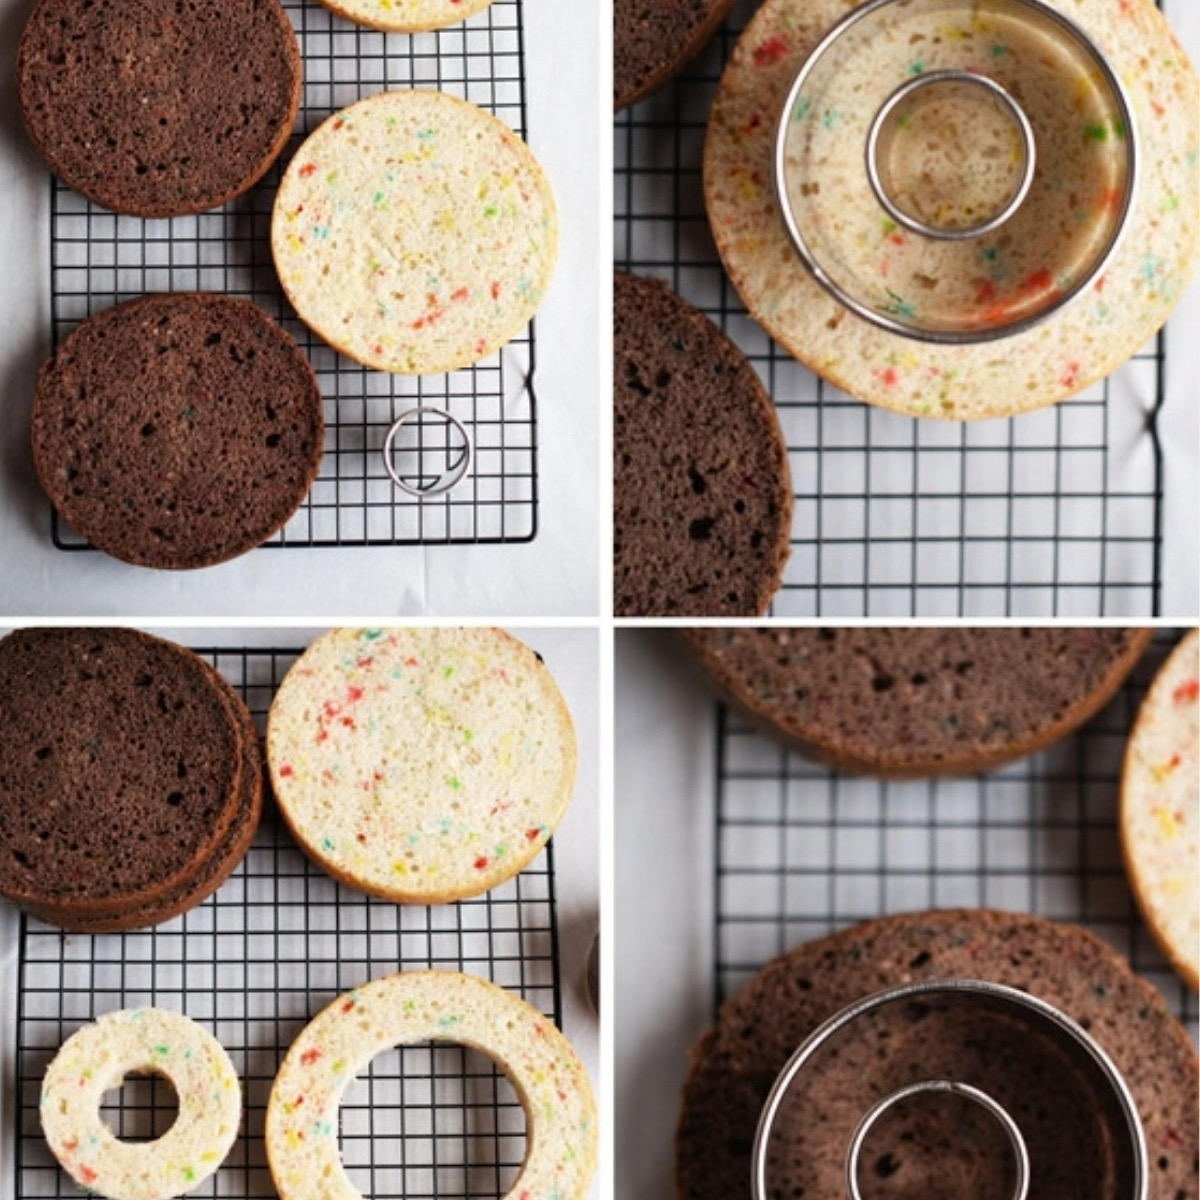
- Position the different sized cutters on top of a cake layer. Place larger cutter about an inch from the edge, and then the smallest cutter “inside” — also about an inch all around from the large cutter. Make sure cutters are centered and evenly placed from each other (see photo for reference).
- Gently press down on cutter until cake is cut; lift slowly and remove the cake piece. Set aside. Repeat with the next cutter. You will have 3 concentric circles from one cake layer. (If you use an object other than a cutter as a guide, you will want to use a knife to trace and cut into the cake to form the circle). Repeat this cutting process for the remaining cakes.
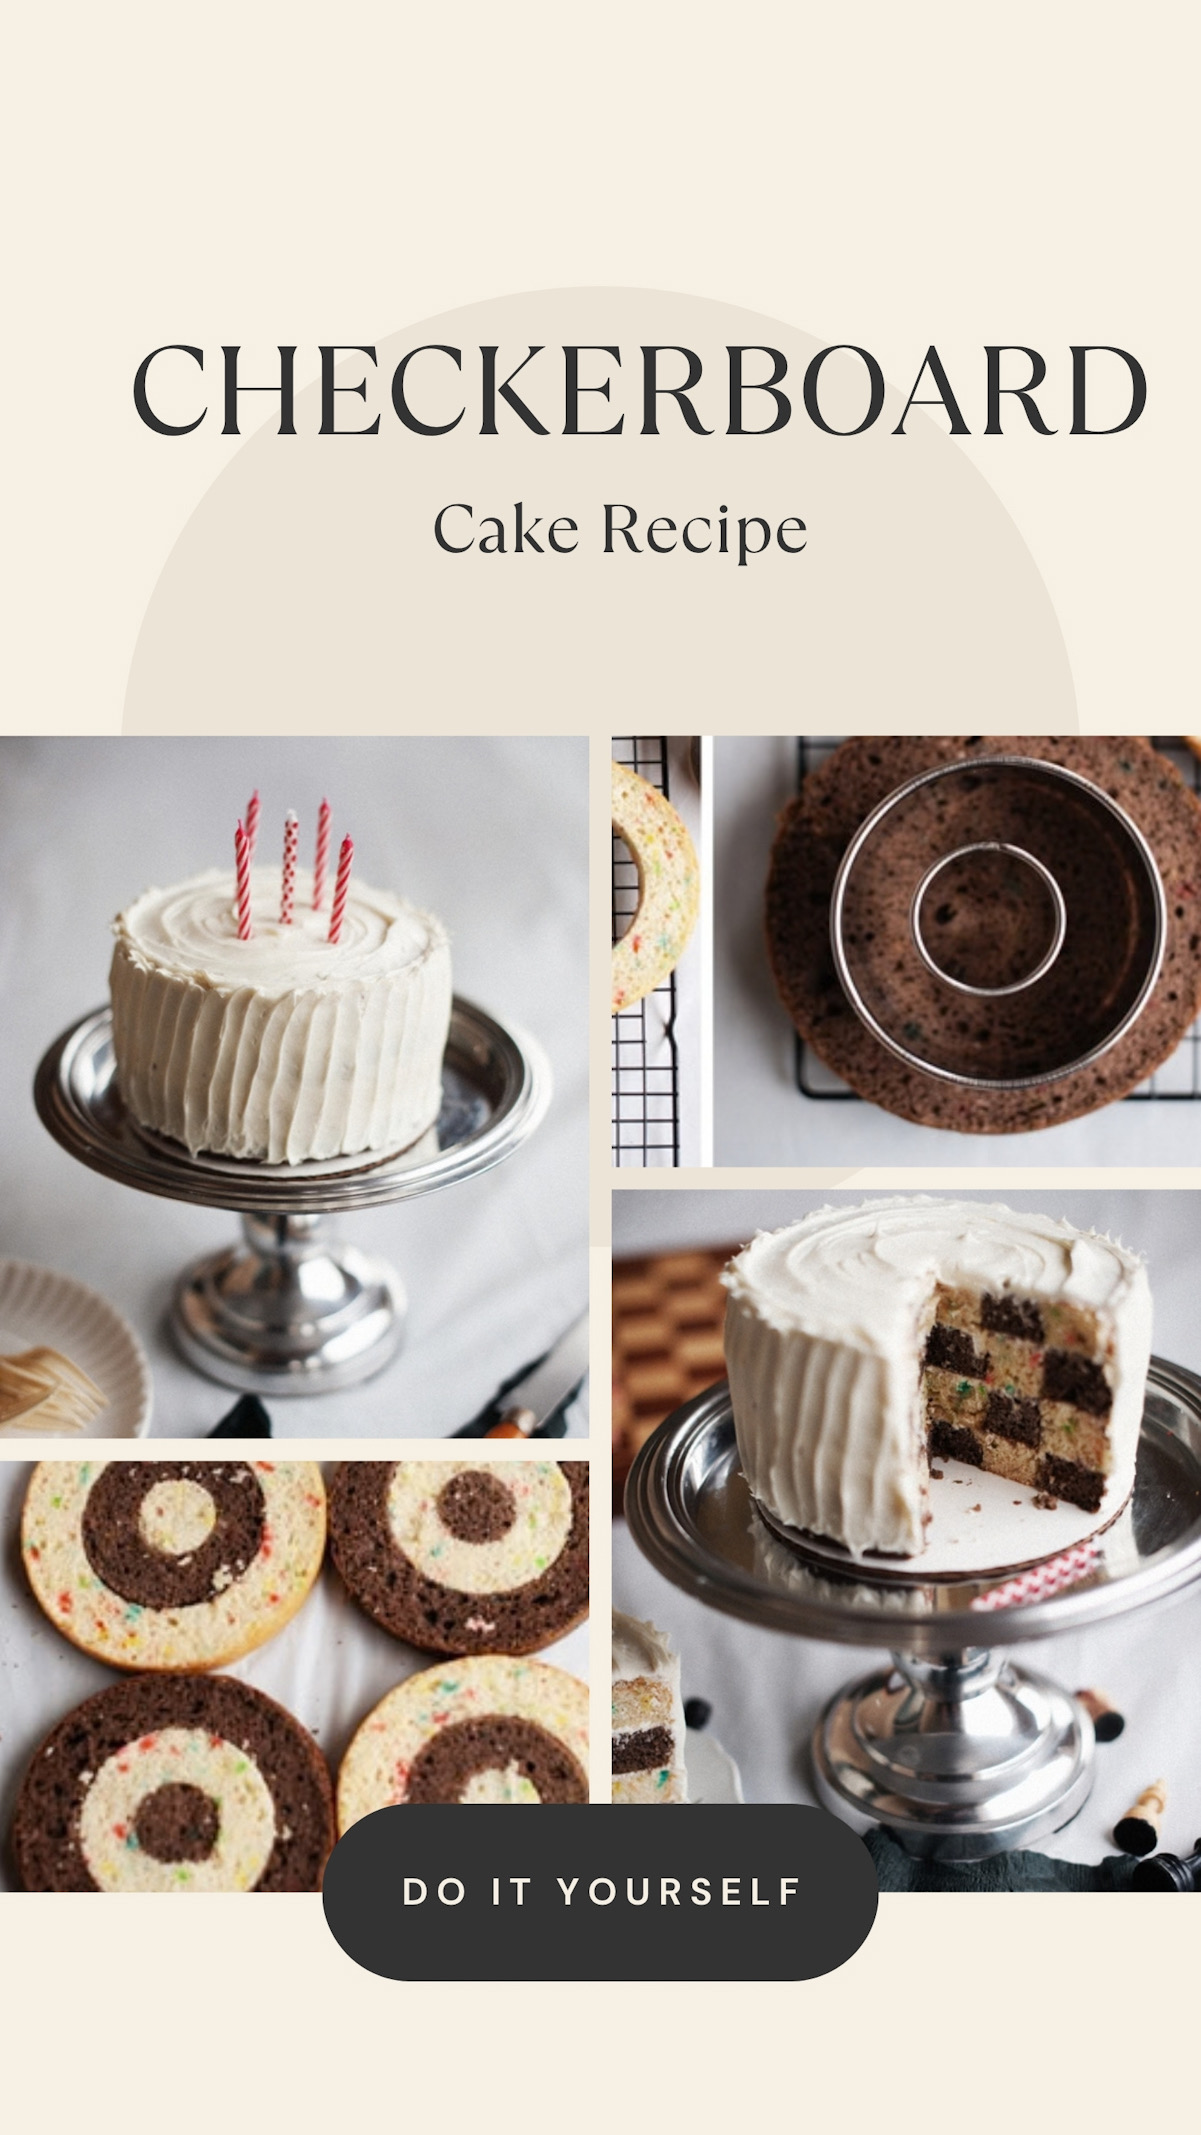
- Now comes the fun part! You will alternate the colors for each layer, creating a sort of “target.” From the outside going in, your layers should be assembled as followed: yellow cake (outside circle), chocolate cake (middle), yellow cake (center)chocolate cake (outside circle), yellow cake (middle), chocolate cake (center)
- You will have two each of the different designs.Note: This step is easily accomplished if you start your layers on a cake plate or stand. Assemble the first layer. Cover and spread frosting on this layer. Now assemble second layer which will have the opposite colors. Ex: if your first layer’s outer circle is plain cake, the second layer’s outer circle will be chocolate. Repeat with other layers, alternating the colors. Don’t forget to frost between each layer!
- After you’re done stacking, apply a crumb coat to the cake. Stick in fridge for 15 minutes to chill, then apply the final coat of frosting. That’s it! When the first slice is cut, guests will wow at the checkerboard design inside.
Notes
Feel free to use your own recipe for cake, adjust accordingly depending on how many layers you want.
Feel free to use different-sized pans — an 8- or 9-inch checkerboard cake can have more “squares” since it is wider. Make sure you have enough batter for the number of layers you want.
Don’t be limited to a black and white (or in this case, yellow and brown confetti) checkerboard for your cake — experiment and have fun with different colors. Make a pastel yellow/pink/green cake for Easter, orange and black cake for Halloween, pink and red for Valentine’s Day, and so forth. You get the idea.
In the assembly stage, you can apply a small amount of frosting to the inner part of each circle before inserting the next cake piece. The frosting acts as a “glue,” and you won’t have to worry as much about the cake falling apart as you cut slices.
Pro Tips for baking the best game-board cake:
- Use at least two layers: Checkerboard cakes can be done with a minimum of two layers, but they look especially impressive with 3 or more.
- Use your favorite cake recipe: Feel free to use your own cake recipe; adjust accordingly based on how many layers you want.
- Choose your pan size carefully: Feel free to use different-sized pans — an 8- or 9-inch checkerboard cake can have more “squares” since it is wider. Make sure you have enough batter for the number of layers you want.
- Have fun with your colors: Don’t limit yourself to a black-and-white (or, in this case, yellow-and-brown confetti) checkerboard for your cake—experiment and have fun with different colors. Make a pastel yellow/pink/green cake for Easter, an orange and black cake for Halloween, a pink and red cake for Valentine’s Day, and so forth. You get the idea.
- Use frosting as glue. During assembly, apply a small amount of frosting to the inside of each circle before inserting the next cake piece. The frosting acts as a “glue,” and you won’t have to worry as much about the cake falling apart as you cut slices.
A checkerboard cake for senior year
I am currently celebrating my kiddos’ senior year, and this checkered print cake will be a huge hit for one of the many team dinner celebrations we are planning.
Grab my Senior Year Playbook and get ready to serve your checkered cake as you host your seniors this year.
Happy celebrating!
-Victoria
Photography Athena Plichta